Your Cart is Empty
-
- HOLSTERS for 1911
- HOLSTERS for BERETTA
- HOLSTERS for BERSA
- HOLSTERS for BROWNING
- HOLSTERS for CANIK
- HOLSTERS for Colt
- HOLSTERS for CZ
- HOLSTERS for FN
- HOLSTERS for GLOCK
- HOLSTERS for H&K
- HOLSTERS for HI-POINT
- HOLSTERS for IWI
- HOLSTERS for KAHR
- HOLSTERS for KEL-TEC
- HOLSTERS for KIMBER
- HOLSTERS for KRISS
- HOLSTERS for RUGER
- HOLSTERS for SAR FIREARMS
- HOLSTERS for SCCY
- HOLSTERS for SIG SAUER
- HOLSTERS for SMITH & WESSON
- HOLSTERS for SPRINGFIELD
- HOLSTERS for STACCATO
- HOLSTERS for STOEGER
- HOLSTERS for TAURUS
- HOLSTERS for WALTHER
- SHOP HOLSTERS BY STYLE
- Order Lookup
- Blog
- About
- Contact
- 1 (888) 904-2722
- Customer Login


How to Clean Your Concealed Carry Pistol (Step-by-Step Guide)
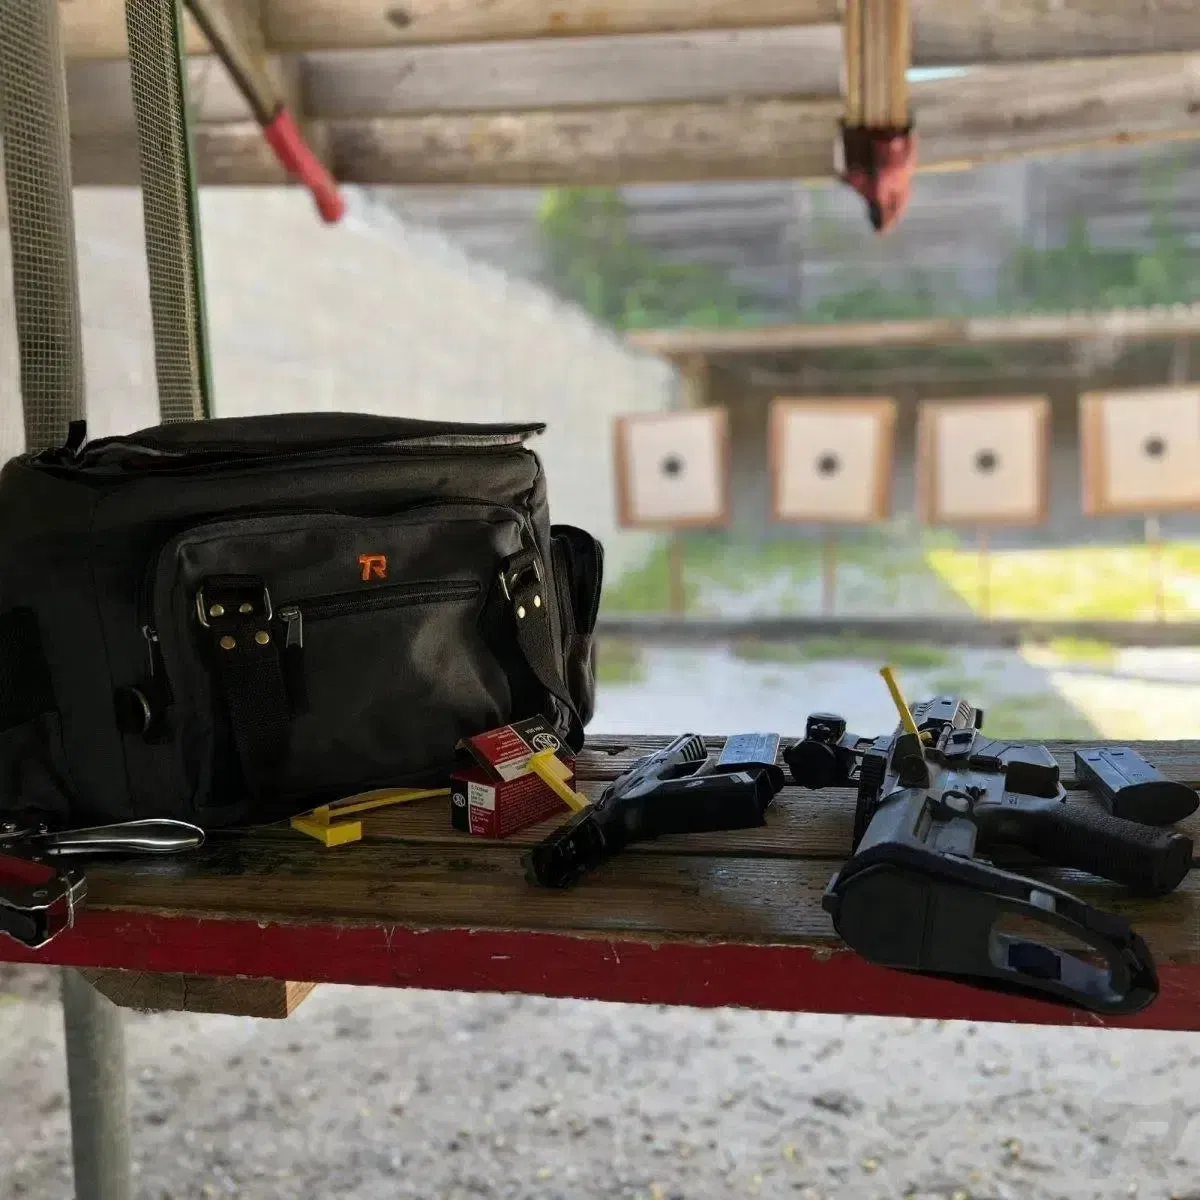
If you carry a firearm every day, you’ve probably noticed something: the world is a dirty place. Between the lint from your t-shirt, the dust from the office, and the moisture from your own skin, your concealed carry weapon (CCW) is constantly under siege.
Unlike a "safe queen" that only sees the light of day once a year, or a dedicated range gun that gets cleaned after every 500 rounds, your daily carry pistol lives in a harsh environment. It sits against your body, absorbs salt from sweat, and collects debris in every crevice. If the day ever comes when you actually need to use it, "it was too dirty to cycle" is not an acceptable excuse.
Learning how to clean a handgun properly is a fundamental skill. It’s not just about aesthetics; it’s about reliability and life-saving performance. In this guide, we’re going to break down the essential firearm maintenance tips every CCW holder needs to know, from the safety checks to the final function test.
The "Carry Tax": Why CCW Maintenance is Different
Most people think of firearm cleaning as removing carbon fouling after a day at the range. While that’s important, a concealed carry pistol has a different enemy: the environment.
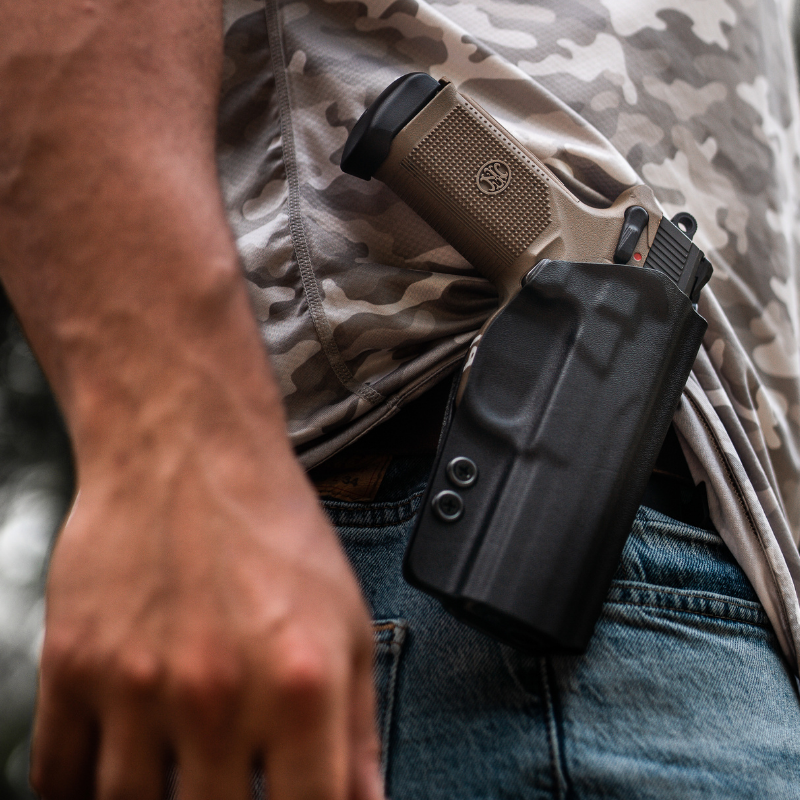
When you carry IWB or OWB, your gun is exposed to body heat and moisture. This creates a prime environment for oxidation (rust), especially on slide serrations, sights, and controls. Furthermore, the oil on your gun acts like a magnet for pocket lint and dust. Over time, this "gunk" can migrate into the trigger group or the firing pin channel, potentially causing a light primer strike or a failure to go into battery.
Regular maintenance ensures that your EDC (Everyday Carry) remains a tool you can bet your life on.
Step 1: Establish a Safe Workspace
Safety isn't just a suggestion; it's the foundation of everything we do. Before you even touch a bottle of solvent, you must prepare your environment.
- Clear the Area: Remove all live ammunition from the room. Not just from the gun: from the room. This eliminates the possibility of a "magic bullet" finding its way into the chamber during a moment of distraction.
- The Triple Check: Remove the magazine. Lock the slide to the rear. Physically and visually inspect the chamber. Stick your finger in there to confirm there is no brass. Look away, then look again.
- Point in a Safe Direction: Even during disassembly, maintain muzzle discipline.
- Lighting: Work in a well-lit area. You need to be able to see into the nooks and crannies of the frame to spot carbon buildup or rust.
For a more organized workspace, many shooters use a secure valet tray to keep their pins, springs, and tools from rolling off the table.
Step 2: Gather Your Cleaning Supplies
You don't need a massive laboratory setup to clean a handgun, but you do need the right tools. Using the wrong equipment can actually damage your finish or leave behind debris.
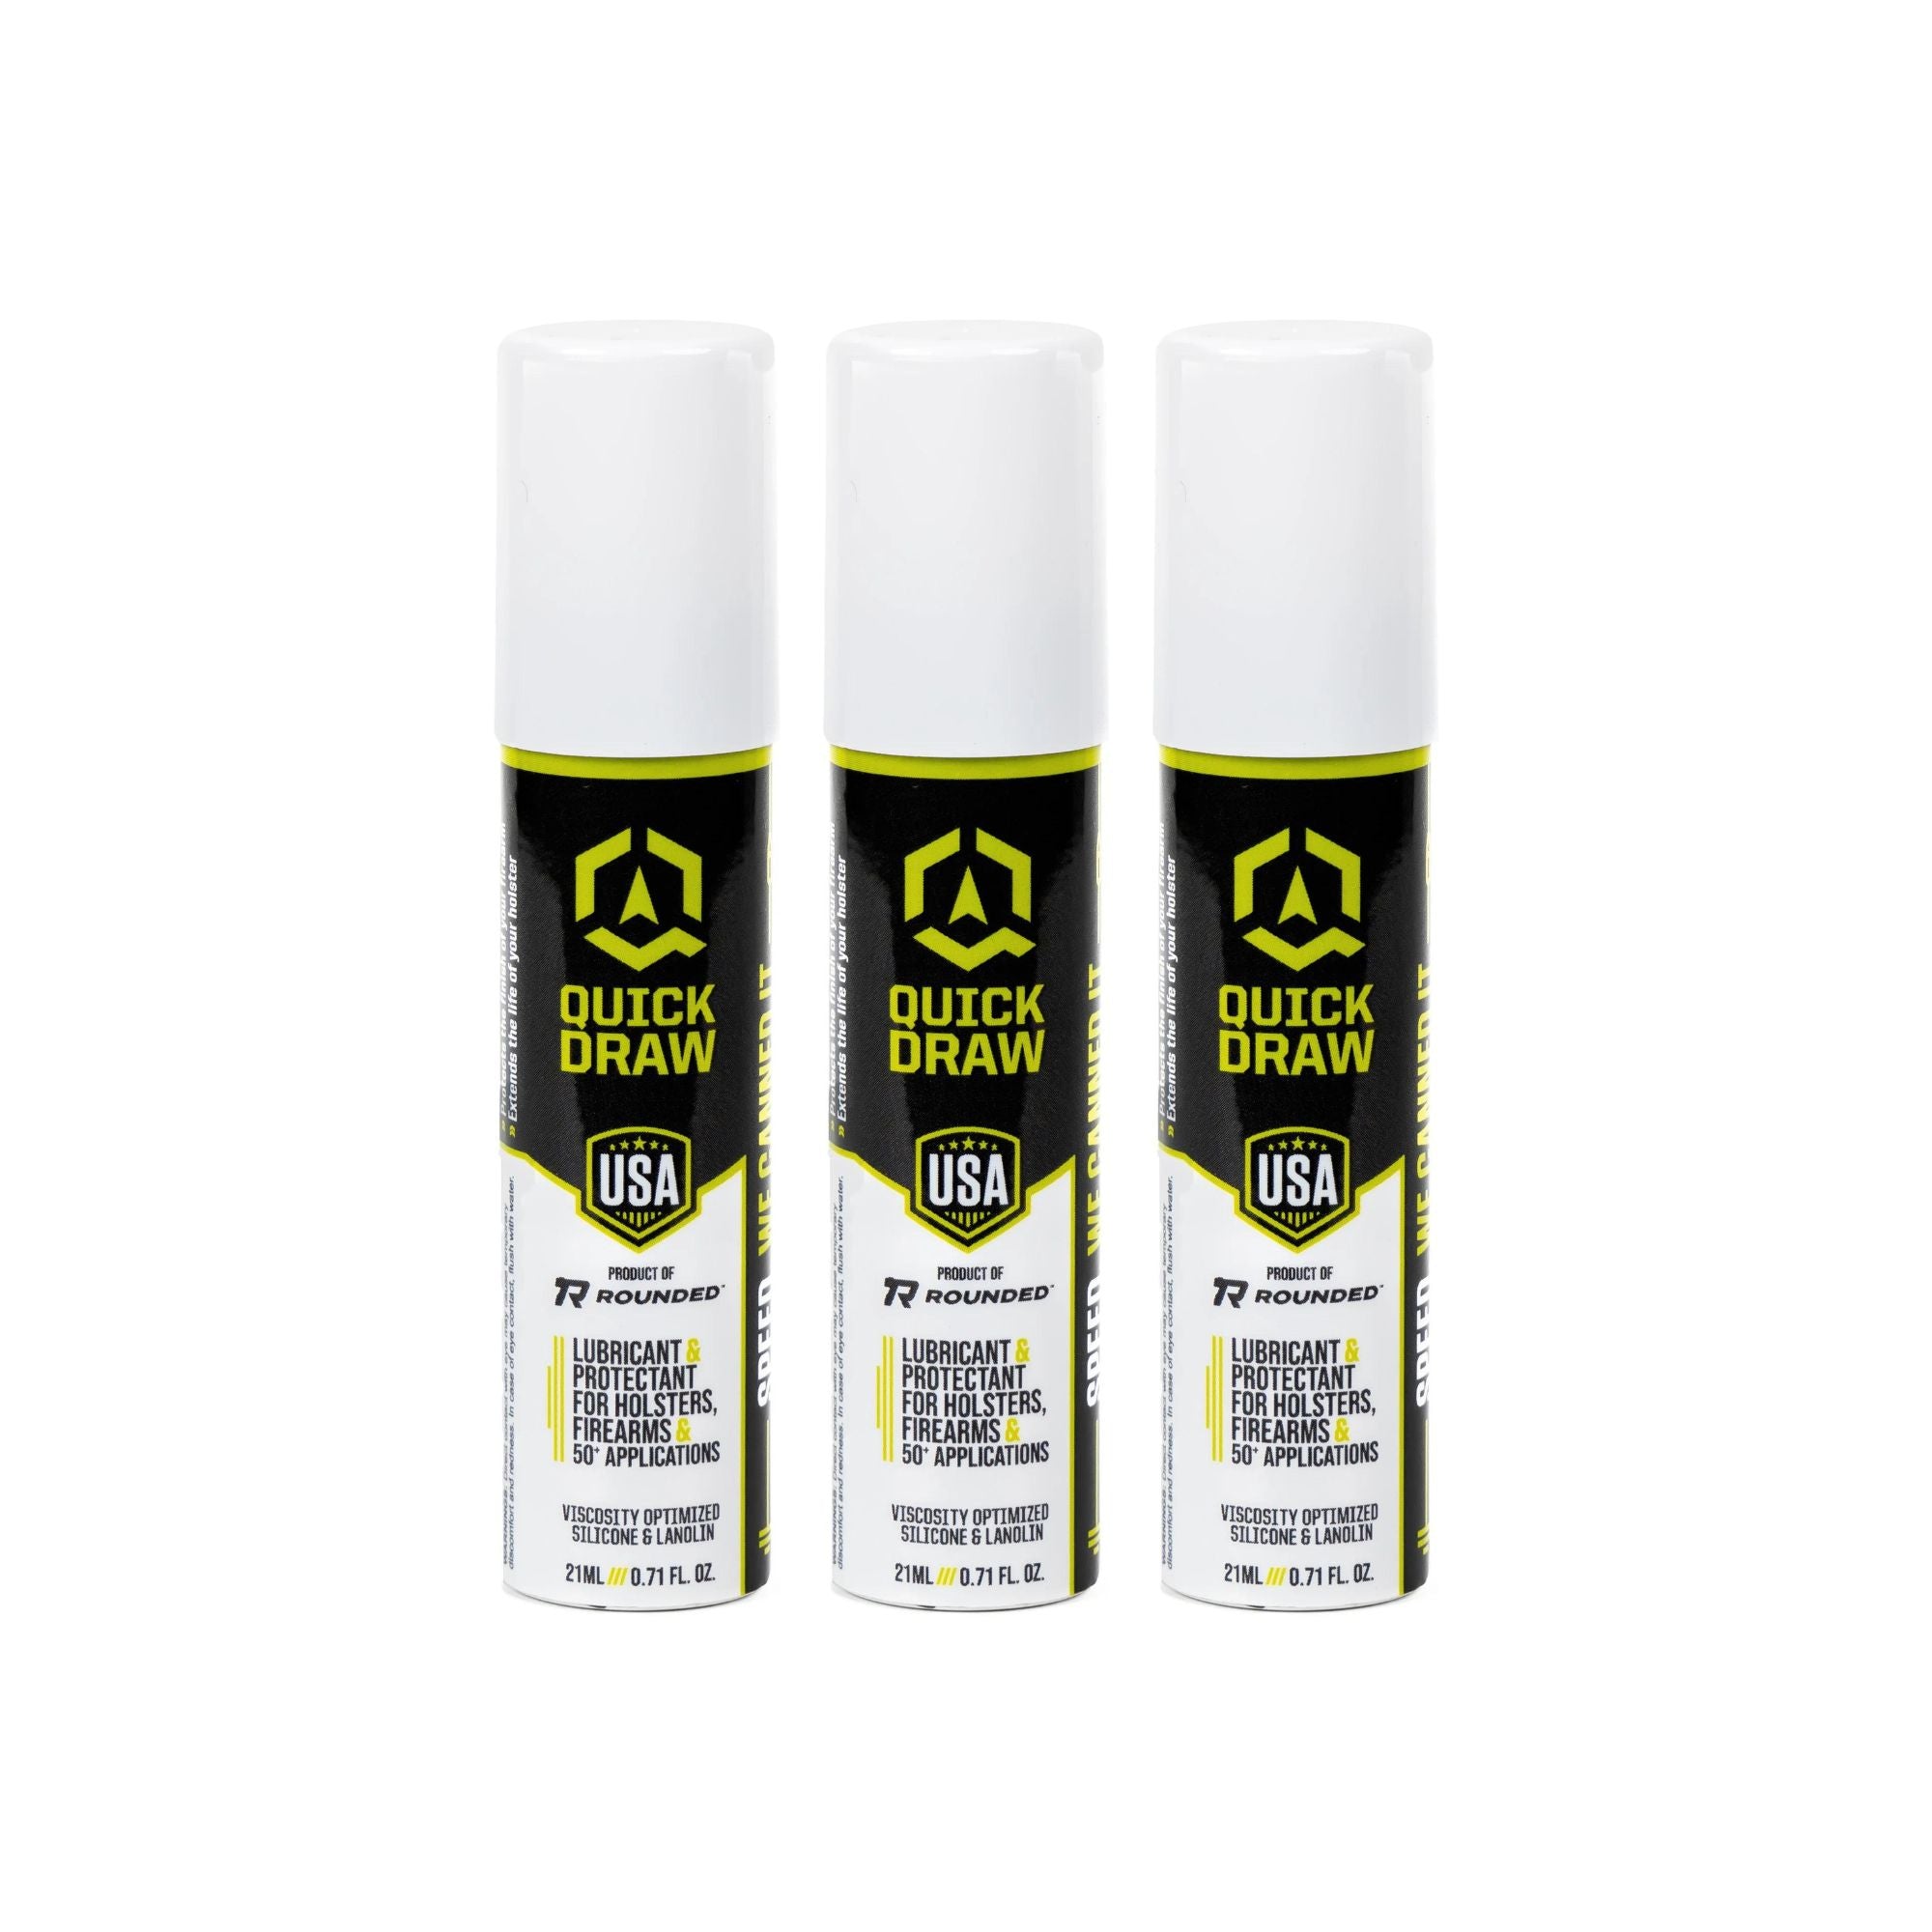
- Cleaning Solvent/CLP: To break down carbon and old grease.
- High-Quality Gun Oil: For lubrication (remember: a little goes a long way).
- Bore Brush & Rod: Caliber-specific (e.g., 9mm, .45 ACP).
- Cleaning Patches: To run through the bore.
- Nylon Brush: An old toothbrush works, but a dedicated gun brush is better for scrubbing the slide rails.
- Microfiber Cloth: For wiping down the exterior without leaving lint behind.
- Cotton Swabs: Essential for reaching into the trigger assembly and slide grooves.
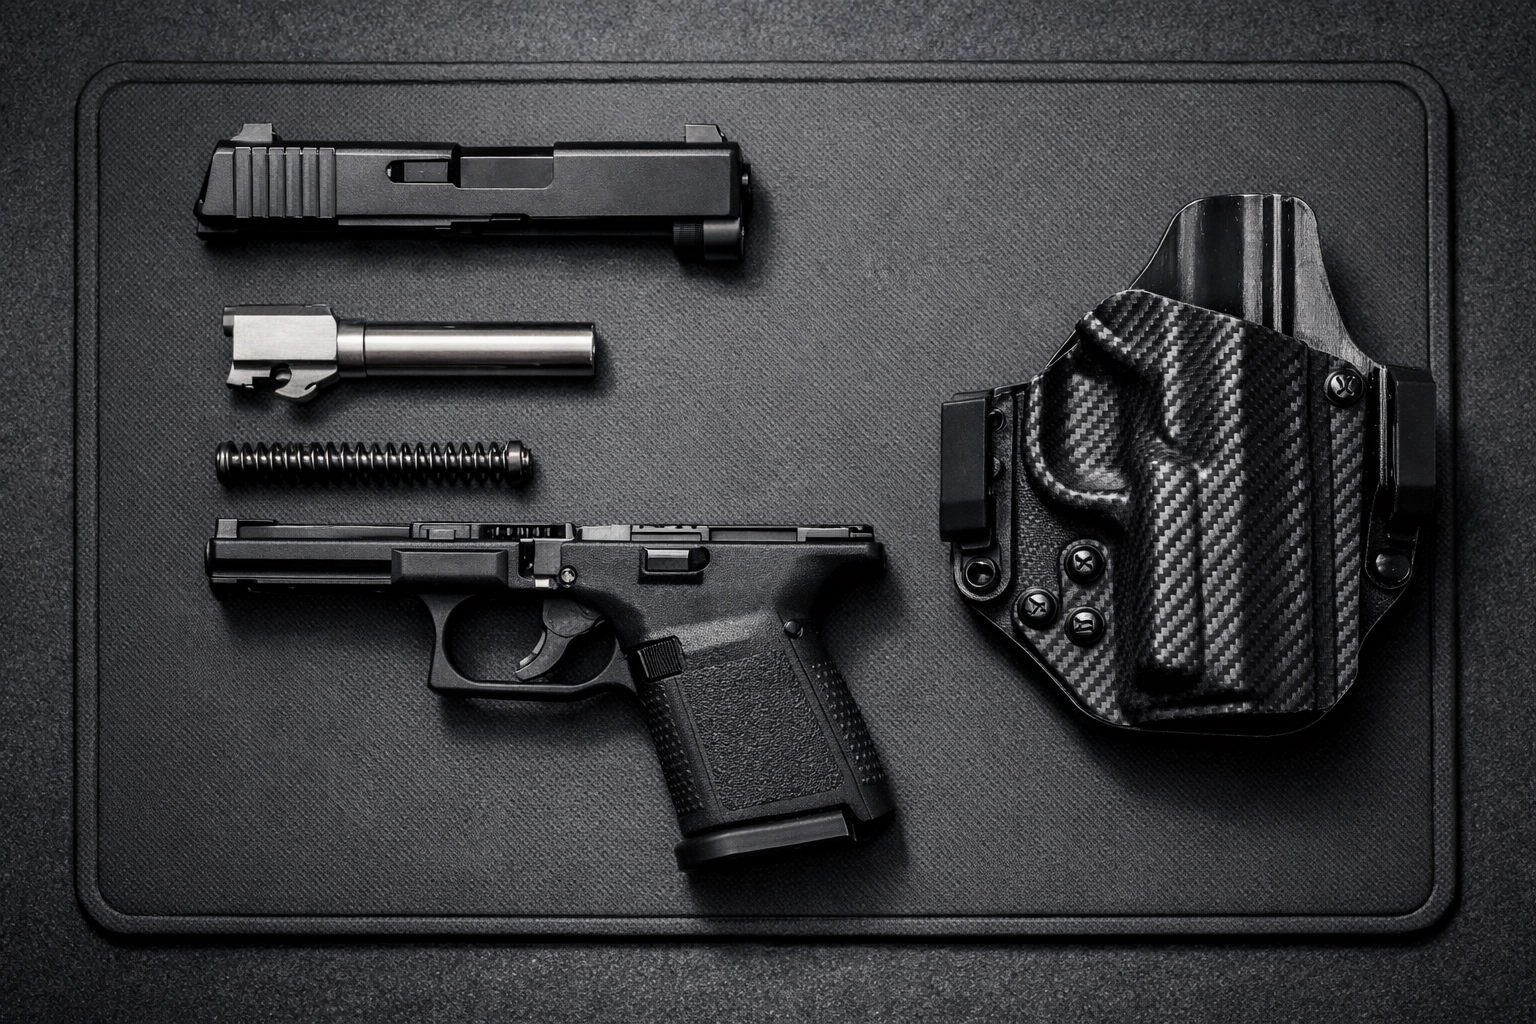
Step 3: Field Stripping Your Pistol
Field stripping is the process of breaking your gun down into its main components: the slide, the barrel, the recoil spring/guide rod, and the frame. You should rarely need to go deeper than this for routine maintenance.
Consult your owner’s manual for specific instructions on your make and model, as a Glock 19 strips differently than a Sig P365 or a 1911.
Generally, the process involves:
- Retracting the slide to a specific point.
- Engaging a takedown lever or pulling down on slide tabs.
- Removing the slide from the frame.
- Lifting out the recoil spring and barrel.
Step 4: Deep Cleaning the Components
Now that the gun is apart, it’s time to get to work. We’ll tackle this in three main sections.
The Barrel
The barrel takes the most abuse from heat and friction.
- Scrub: Apply solvent to your bore brush and run it through the barrel several times, always going from the breech to the muzzle (the direction the bullet travels). This prevents you from pushing gunk back into the action.
- Patch: Run dry patches through the bore until they come out white.
- Inspect: Look through the barrel toward a light source. You should see clean, sharp rifling without any dark streaks of lead or copper fouling.
The Slide
Pay close attention to the "face" of the slide where the firing pin comes out (the breech face) and the extractor claw.
- Use your nylon brush and a bit of solvent to scrub the breech face. A dirty extractor is a leading cause of failures to extract (jams).
- Wipe out the interior channels where the slide meets the frame rails. This is where most of your friction occurs.
The Frame
The frame usually doesn't get as dirty as the slide, but for a CCW, this is where the lint lives.
- Use a brush or compressed air to clear out dust from the mag well and the trigger group.
- Wipe down the rails with a cloth. Avoid dousing the trigger assembly in oil; it can attract more grit and eventually gum up the works.
Step 5: Lubrication – The "Goldilocks" Rule
When it comes to lubricating a carry gun, the biggest mistake is overdoing it. Too much oil will leak out onto your holster, stain your clothes, and turn into a "sludge" when it mixes with dust.
Follow the "one drop" rule. Place a single drop of high-quality oil on:
- The Slide Rails: The points where the slide and frame make contact.
- The Barrel Hood: The top part of the barrel that locks into the slide.
- The Barrel Tip: Where the barrel moves through the front of the slide.
- The Disconnector: A small nub on the frame that interacts with the slide.
Spread the oil with a cotton swab or your finger. It should look "wet" but shouldn't be dripping. If you see oil running down the side of the gun, you’ve used too much.
Step 6: Reassembly and Function Check
Put the barrel and recoil spring back into the slide, then slide the assembly back onto the frame. Once the gun is back together, you must perform a function check (again, ensure no ammunition is present).
- Rack the slide: It should move smoothly without any gritty feeling.
- Trigger reset: Point the gun in a safe direction, pull the trigger (dry fire), hold it back, and rack the slide. Slowly release the trigger until you hear/feel the "click" of the reset.
- Safety Check: If your gun has a manual safety or grip safety, ensure they are functioning correctly.

Step 7: Don’t Forget the Holster
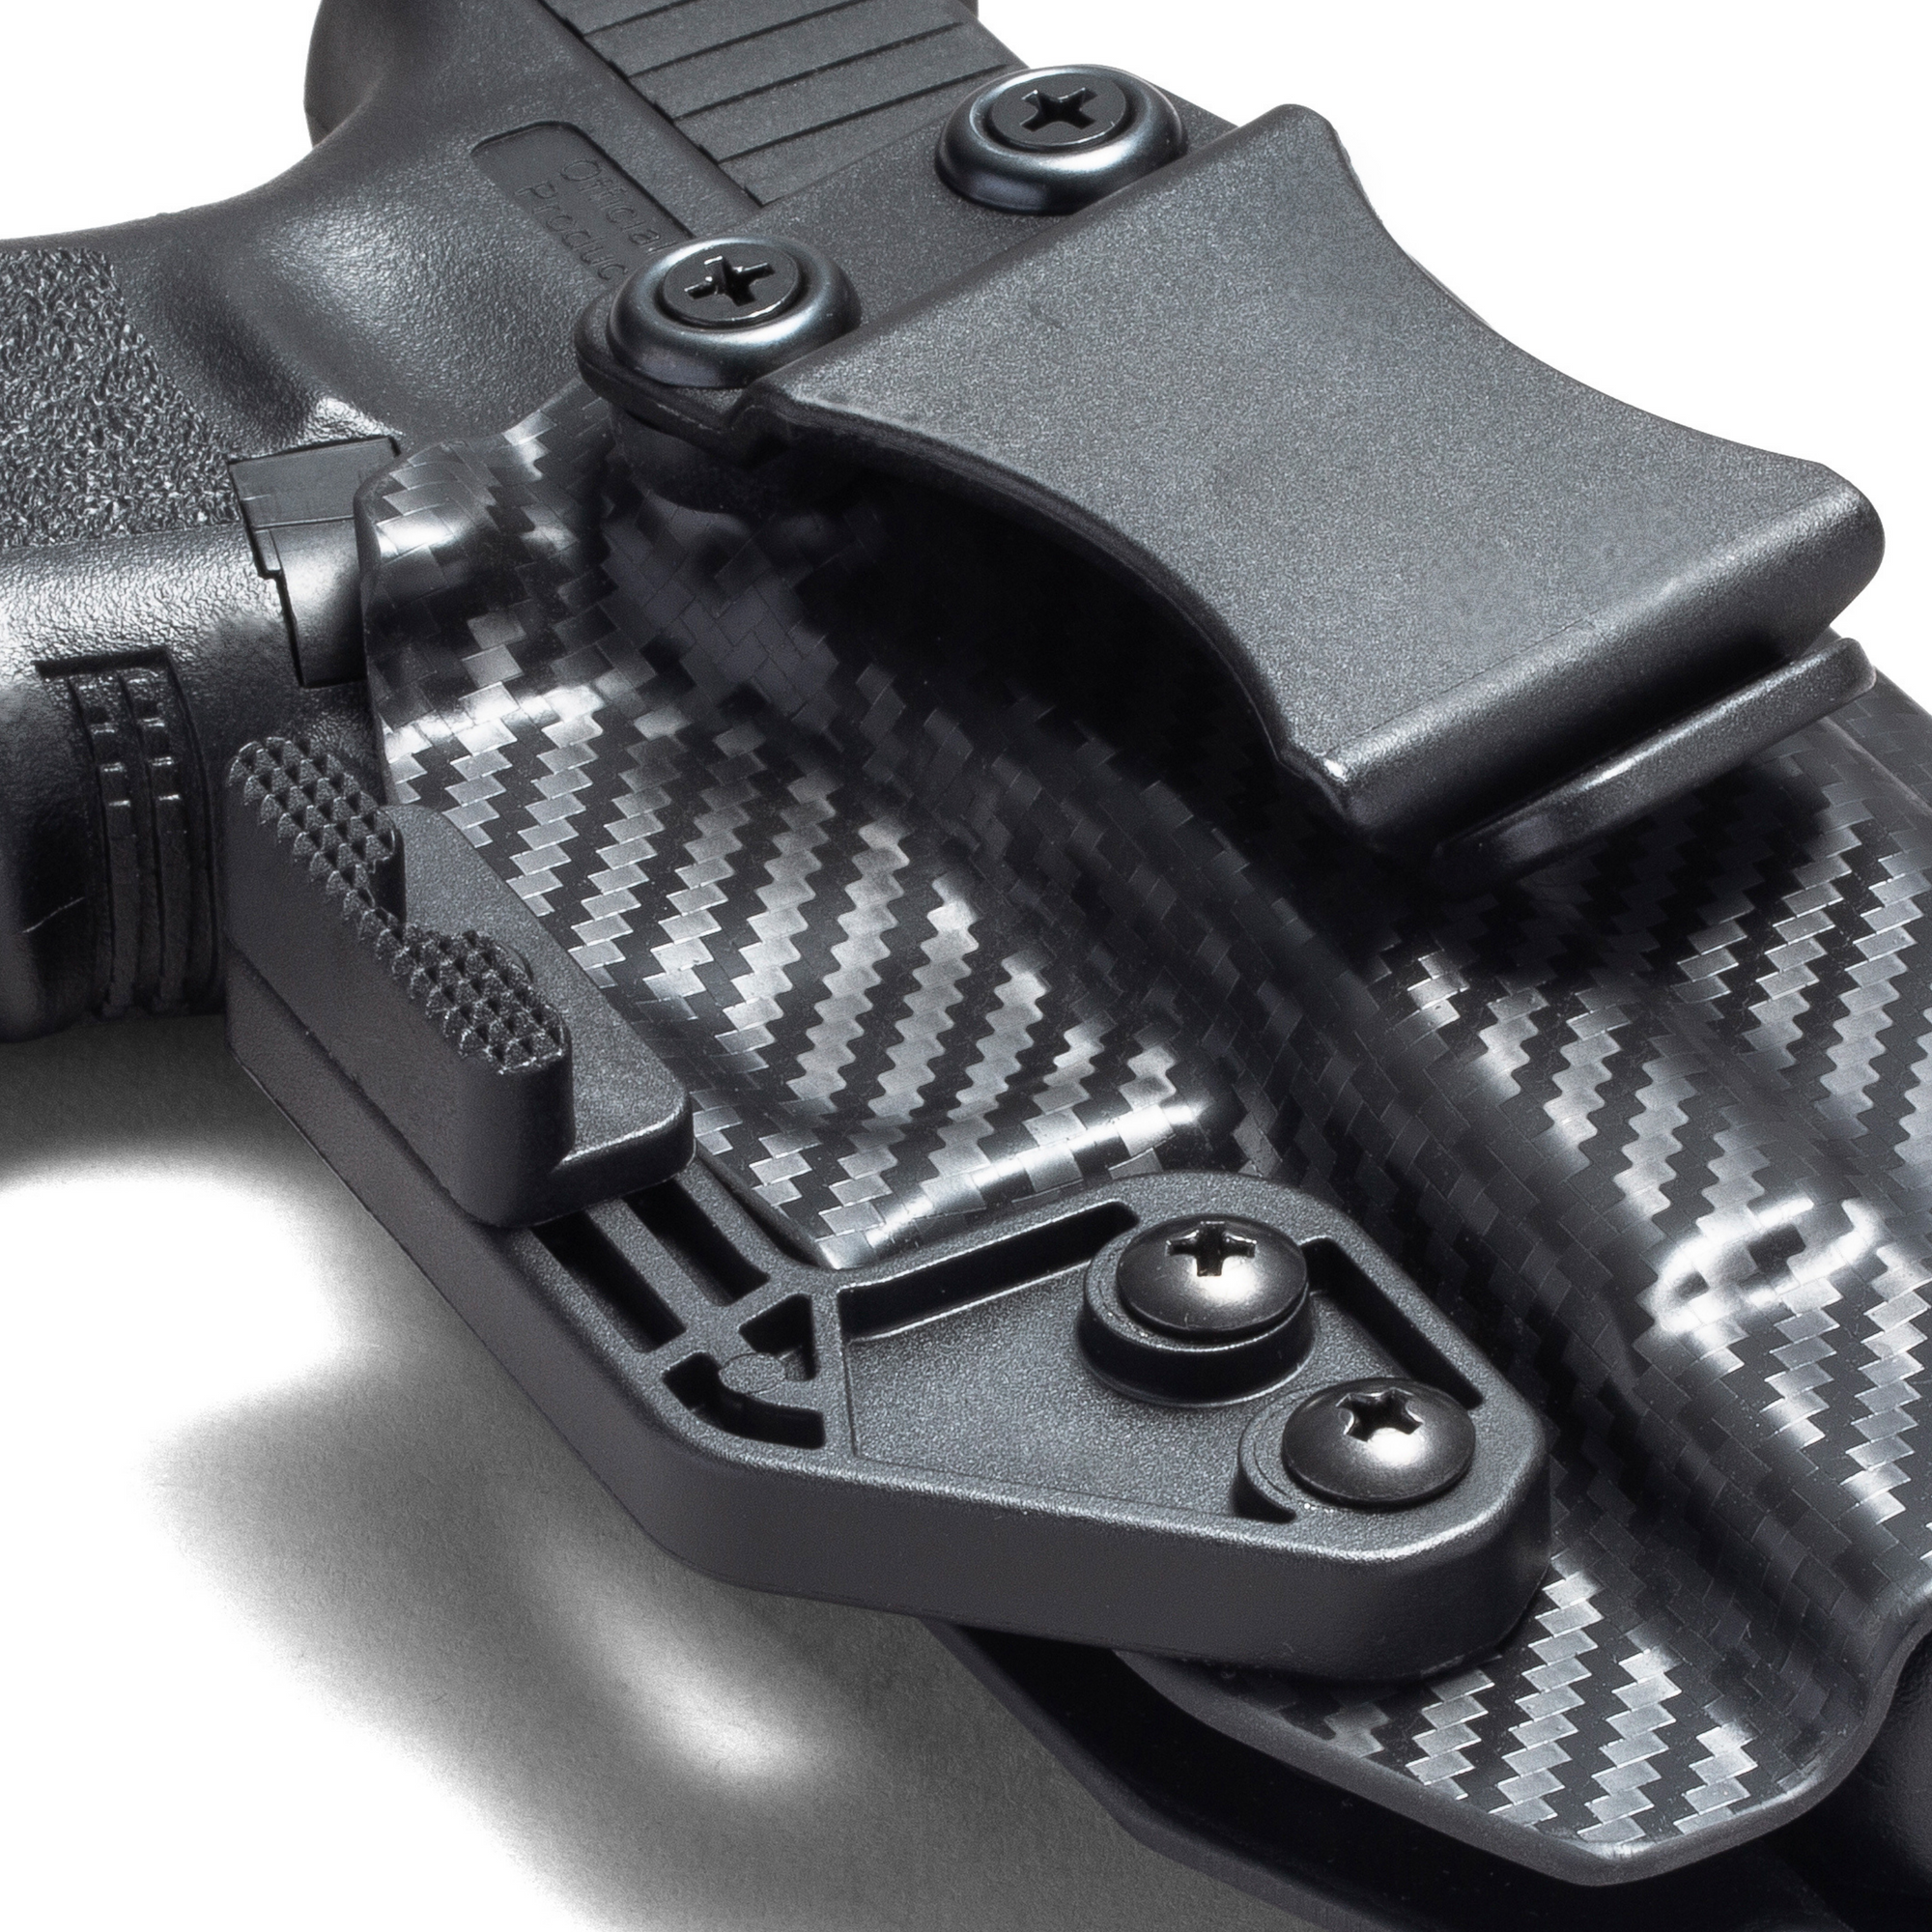
Your gun maintenance is only as good as your holster maintenance. If you put a pristine, clean pistol back into a Kydex holster filled with sand and sweat, you’re asking for trouble.
Kydex holsters are incredibly low-maintenance, but they still need a wipe-down. Every time you clean your gun, take a damp cloth and wipe out the inside of your holster. This removes the abrasive grit that causes "holster wear" on your slide's finish. Check the hardware: ensure the screws on your belt clips or claw attachments are tight. A drop of blue thread-locker can prevent these from backing out over time.
For more tips on keeping your gear in top shape, check out our instructional videos.
Recommended Maintenance Schedule
How often should you perform these firearm maintenance tips? It depends on how you live.
- After Every Range Trip: No exceptions. Even if you only shot 50 rounds, the corrosive nature of some primers and the carbon buildup should be addressed immediately.
- Weekly Wipe-Down: If you haven’t fired the gun, just give the exterior a quick wipe with an oily cloth to counteract body salts and remove lint.
- Monthly Deep Clean: Even if the gun hasn't been fired, field strip it once a month to clear out the "belly button lint" that inevitably finds its way into the action.
Reliability is the Priority
At the end of the day, cleaning your handgun isn't about making it look pretty for a photo. It’s about ensuring that the mechanical tolerances designed by the manufacturer are allowed to work without interference.
A clean gun is a reliable gun. By following these steps, you’re taking ownership of your safety and ensuring that your gear is as ready as you are. Whether you’re carrying in one of our carbon fiber IWB holsters or a rugged OWB setup, a little bit of maintenance goes a long way.
Stay safe, keep your powder dry, and keep your carry gun clean.
Leave a comment
Comments will be approved before showing up.


